If you are looking to cut costs on a swing set and enjoy building things, the DIY swing set might be a good fit for your family. When considering our options, building our own swing set cut the cost by hundreds for us. It’s sturdy, customizeable, and our children love it. In this post, I will share the materials we purchased and the steps we took to make our DIY swing set.
*This post contains affiliate links. I may receive a commission if you make a purchase through a link at no additional cost to you.
Intro to the DIY Swing Set
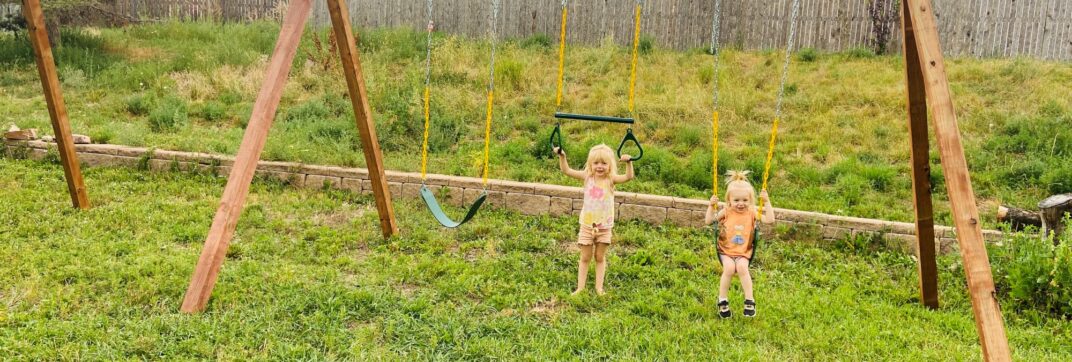
The first thing to consider for your DIY swing set is how many swings or accessories you want on it. For ours, we included two traditional swings, one saucer swing, and a trapeze bar. Next, you will need to determine the dimensions for the lumber. Once you have these basics figured out, you can purchase your materials.
DIY Swing Set Materials
- Swing Sets and Trapeze Bar
- Heavy Duty Swing Hangers
- A-Frame Swing Set Brackets
- Lumber – Treated Redwood designed for direct ground contact (we bought these from Home Depot)
- 1 – 10ft 4”x6”
- 1 – 8ft 4”x6”
- 6 – 8ft 4”x4”
- Extra Thick Fender Washers
- Auger Drill Bit
How to Make DIY Swing Set
This part of the DIY Swing Set instructions was written by my husband. I’m sure you will enjoy his witty humor!
- Make a plan, map out where you want to put this thing. Soft, flat, level ground, with proper clearances for swinging.
- Know where your buried utilities are (call 811, if needed). Today is not the day to embarrass yourself by having to call the utility company.
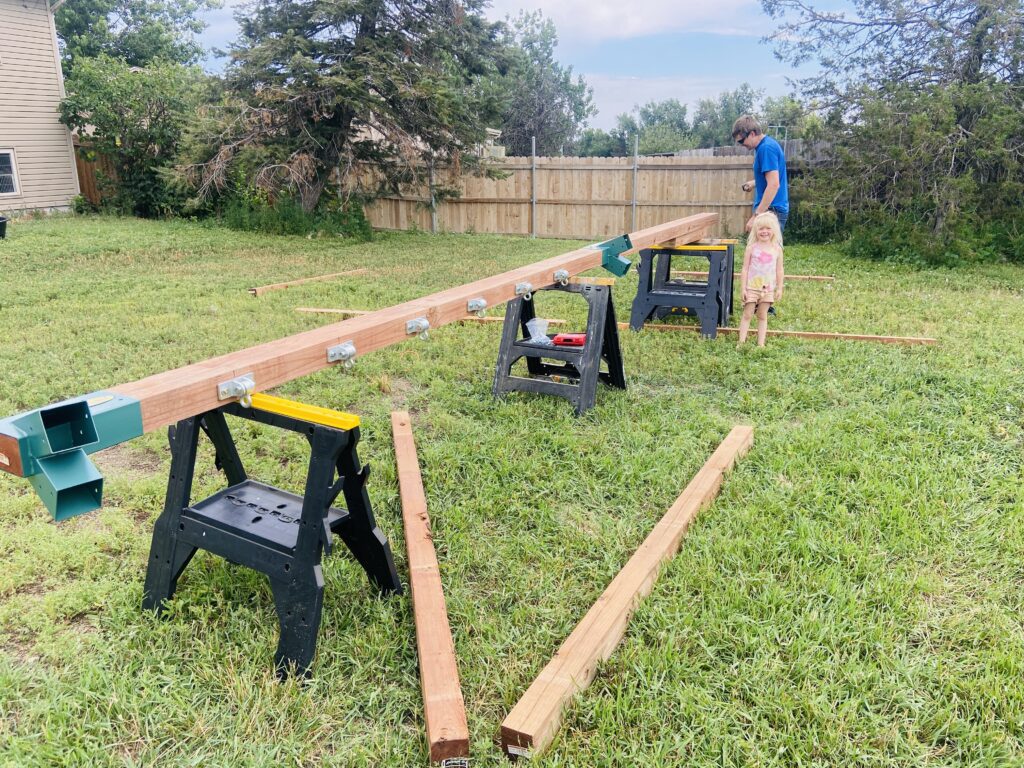
- Cut your 4″X6″ beams to fit your location. Leave the 4″x4″ beams at 8′ long, who wants a shorter swing anyway.
- Set up sawhorses (enough to support each A-frame bracket).
- Assemble cross beams and fully seat the beams into the brackets, may need a dead blow hammer as treated wood tends to swell.
- Drill ~1/4″ pilot holes and secure the brackets with the provided lag bolts.
- Space out the swing brackets based on your intended configuration. In this case, I lined out 3 swings in one bay and 1 swivel in the other, evenly spaced out for added modularity. We added an additional 4 swing brackets in the swivel bay for future capabilities.
- Drill 1/2″ holes for the swing brackets. Be sure to start on the swing side to account not drilling perfectly square. I prefer an auger bit over a spade bit. Less prone to deflection while drilling = straighter hole.
- BUY ADDITIONAL thick fender washers (or brackets). The included washers do not provide enough “meat” for support of the swings.
- If any of your purchased swing brackets only shipped with lag bolts, SHOW YOUR KIDS YOU LOVE THEM and use thru-bolts instead.
- Install all of the swing bracket hardware. Snug is fine, no need to hulk it down and potentially damage the beams.
Next on the DIY Swing Set are the legs:
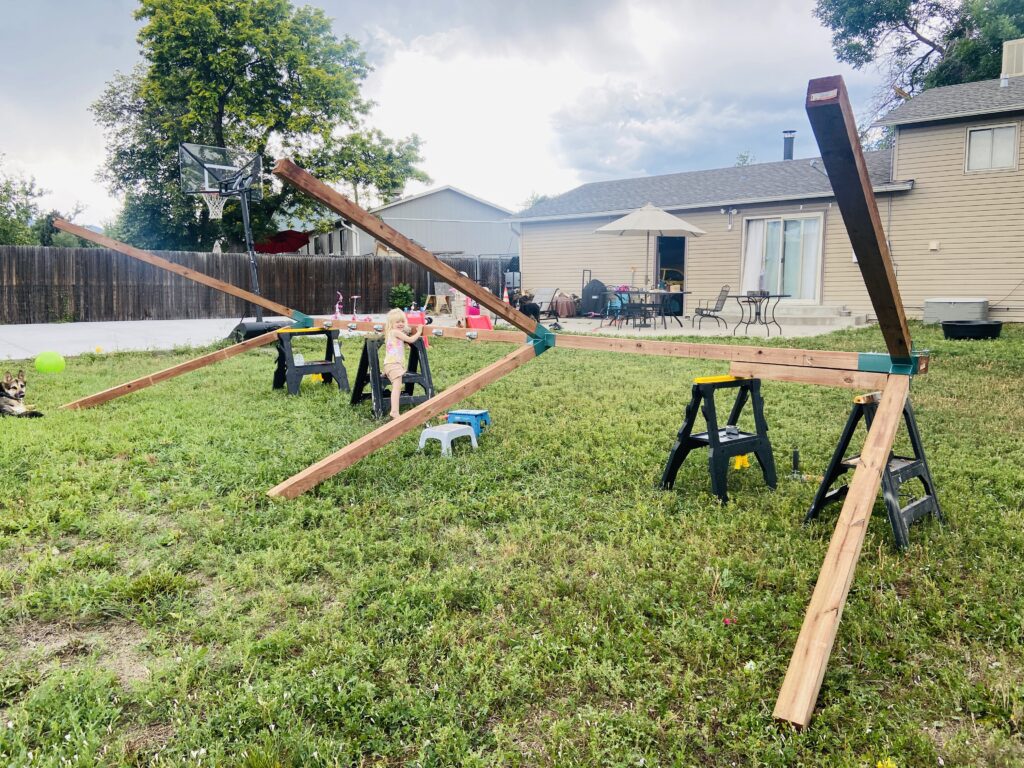
- Position the top beam assembly with the bracket leg holes facing sideways. Begin with the ones aiming towards the ground.
- Insert those legs, drill pilot holes, and install lag bolts/washers, Do not fully tighten, yet. Leave it sloppy.
- Repeat the previous step with the remaining legs facing toward the sky.
- Grab 2-3 buddies (1 per leg is ideal) and tip the structure into place.
- Spread out the legs so they are set to the max-width that the brackets will allow, then finish tightening the lag bolts. This allows the swing set to be more stable and pre-loads the A-frame geometry prior to use.
- Secure the legs to the ground with the rebar fasteners.
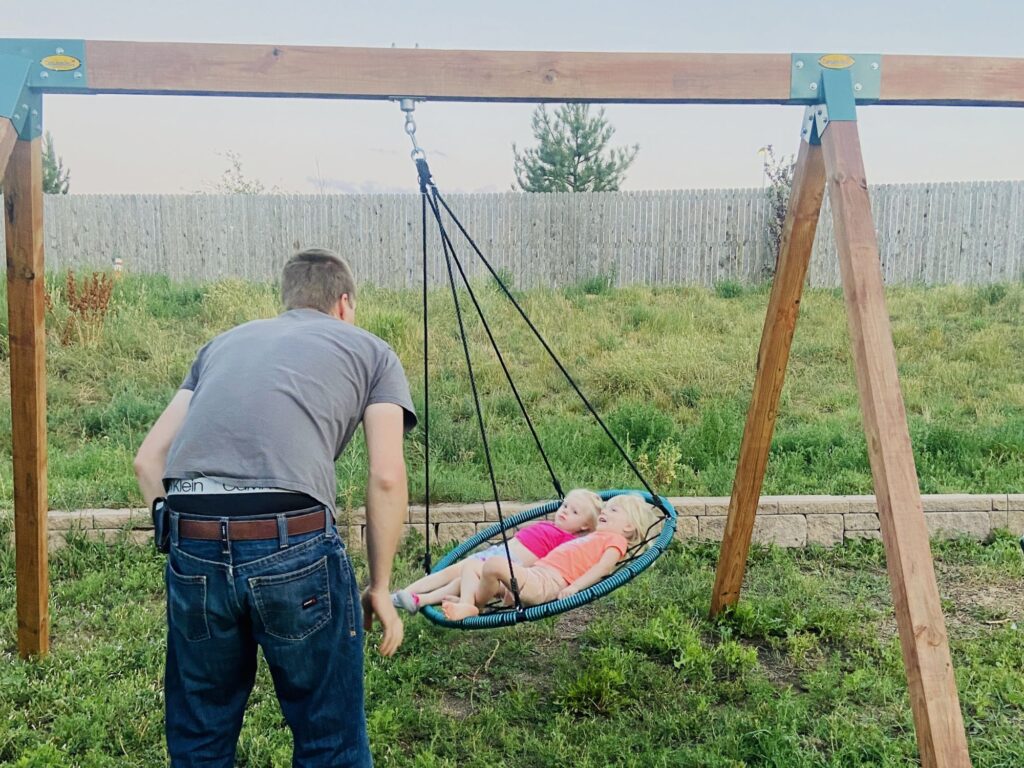
- Attach the swings and grease the swing bracket bushings.
- Create memories with your family.
- Occasionally retighten the swing bracket thru-bolts as they will compress the wood.
- Over time, treated wood will do what is called “checking” (mild cracking), this is normal.
DIY Swing Set – Final Thoughts
Well, there you have it! Now you’ve built a DIY swing set that will save you tons of money and that your kids will enjoy. If you have any questions, leave a comment below and we’ll get back to you as soon as we can!

\
Pingback: 7 Best Outdoor Activities for Kids in the Summer